Makeup: How to Apply Simple Makeup for Everyday: A Step-by-Step Guide
Makeup has become an integral part of many people’s daily routines, whether for work, casual outings, or personal confidence. While some people prefer a dramatic look with bold eyeshadows and intricate contouring, many seek a more natural and effortless makeup routine that enhances their features without looking overdone. If you’re new to makeup or just looking to streamline your daily routine, this article will guide you through applying simple, everyday makeup that looks fresh and polished.
Let’s dive into the step-by-step process of achieving a natural, glowing makeup look that is quick, easy, and flattering for daily wear.

Step 1: Prepping the Skin
Before applying any makeup, it is essential to create a smooth and hydrated base. This ensures that makeup goes on evenly, looks natural, and lasts longer throughout the day.
- Cleanse: Start by washing your face with a gentle cleanser to remove any dirt, oil, or impurities. Choose a cleanser suitable for your skin type—whether oily, dry, or sensitive.
- Moisturize: After cleansing, apply a good moisturizer to keep your skin hydrated and create a smooth canvas for your makeup. Even if you have oily skin, moisturizing is crucial because it helps balance oil production and prevents makeup from looking cakey.
- Sunscreen: If you’re going out during the day, apply a sunscreen with at least SPF 30 to protect your skin from harmful UV rays. Many moisturizers and foundations come with SPF, but layering a dedicated sunscreen ensures thorough protection.
- Primer (Optional): Priming helps smoothen the skin, reduce the appearance of pores, and extend the longevity of makeup. For an everyday look, this step is optional, but it’s especially helpful if you have oily skin or larger pores.
Step 2: Foundation or BB/CC Cream
The goal of everyday makeup is to even out your skin tone without looking heavy. For this step, you can use a lightweight foundation, tinted moisturizer, or BB/CC cream depending on the level of coverage you desire.
- BB/CC Cream: If you prefer a more natural, sheer finish, a BB (beauty balm) or CC (color correcting) cream is a great option. It provides light coverage, evens out your complexion, and often contains added benefits like hydration and SPF.
- Foundation: For more coverage, you can opt for a lightweight foundation. Choose a formula that matches your skin tone and type. Liquid or cream foundations tend to work best for dry or combination skin, while powder foundations are ideal for oily skin.
Application Tips:
- Use a makeup sponge or brush to apply your foundation or BB cream for an even, flawless finish.
- Start in the center of your face (nose, cheeks, and forehead) and blend outward.
- Focus on blending the product into your skin rather than applying a thick layer. The idea is to enhance your natural complexion rather than cover it completely.
Step 3: Concealer
Next, apply concealer to areas that need a bit more coverage. This includes under the eyes, blemishes, redness, or any dark spots. Choose a concealer that is one shade lighter than your foundation for brightening under the eyes.
Application Tips:
- Dab a small amount of concealer under your eyes in a triangle shape for a lifting effect.
- Blend with a damp makeup sponge or your fingertips for a seamless finish.
- For blemishes or redness, use a concealer that matches your skin tone and lightly dab it onto the problem areas.
Step 4: Set with Powder (Optional)
If you have oily or combination skin, you may want to set your foundation and concealer with a light dusting of powder. This helps prevent shine and keeps makeup in place all day.
Application Tips:
- Use a fluffy brush to dust a translucent setting powder over your T-zone (forehead, nose, and chin) or any areas prone to oiliness.
- For dry skin, you can skip this step or only powder the areas that need it.
Step 5: Blush or Bronzer
To add a healthy flush or subtle warmth to your face, a touch of blush or bronzer works wonders. Choose a natural blush color that complements your skin tone or opt for bronzer to give your face a sun-kissed glow.
- Blush: A peachy or pink shade is universally flattering and adds a fresh, youthful appearance.
- Bronzer: Apply bronzer to the areas where the sun naturally hits your face—cheekbones, forehead, and the bridge of your nose.
Application Tips:
- Smile and apply blush to the apples of your cheeks, blending it slightly upwards toward your temples.
- For bronzer, use a fluffy brush to lightly sweep it along the perimeter of your face and under your cheekbones for a natural contour.
Step 6: Eyes
For a simple, everyday look, keep the eyes subtle yet defined. You don’t need to go all out with dramatic eyeshadow. Instead, focus on light definition using minimal products.
- Eyeshadow (Optional): If you like wearing eyeshadow, opt for neutral shades like soft browns, taupes, or champagne tones. These shades add definition without overpowering your eyes.
- Eyeliner: A thin line of eyeliner along your upper lash line can subtly enhance your eyes. You can choose a brown eyeliner for a softer look or black for a more defined finish. Keep the line thin and close to the lashes.
- Mascara: Mascara is a must for everyday makeup, as it instantly opens up the eyes and makes you look more awake. Apply a few coats of lengthening or volumizing mascara to your upper lashes and a light coat on the lower lashes.
Application Tips:
- If using eyeshadow, blend a light shade all over the lid and a slightly darker shade in the crease for definition.
- Curl your lashes before applying mascara for added lift.
Step 7: Brows
Defined brows frame your face and can make a significant difference in your overall look. The key is to keep them natural-looking and not too heavy.
- Brow Pencil or Powder: Use a brow pencil or powder to lightly fill in any sparse areas. Choose a shade that matches your natural brow color or is one shade lighter for a softer effect.
- Brow Gel: A clear or tinted brow gel can help keep your brows in place and give them a polished look.
Application Tips:
- Start by brushing your brows with a spoolie to see their natural shape.
- Lightly fill in gaps with small, hair-like strokes and blend with the spoolie for a natural finish.
Step 8: Lips
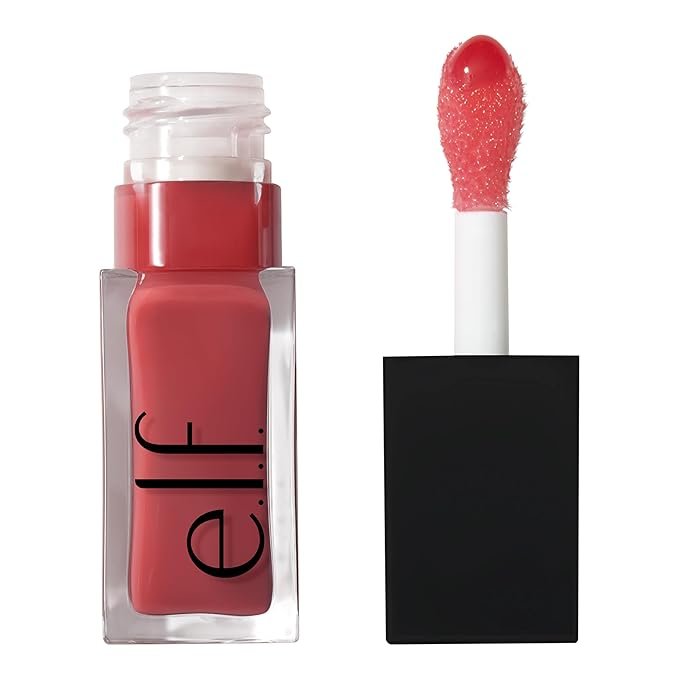
For everyday makeup, opt for something hydrating and easy to reapply, like a tinted lip balm, gloss, or a soft nude lipstick.
Application Tips:
- For a natural look, stick to neutral shades like soft pinks, peaches, or nude tones.
- If you prefer a little more color, a tinted lip balm can add a pop of color while keeping your lips hydrated throughout the day.
Step 9: Setting Spray (Optional)
To keep your makeup in place all day, a light spritz of setting spray can lock everything in. This is particularly helpful if you have a long day ahead or if you’re in a hot, humid environment.
Final Thoughts
Applying simple makeup for everyday wear doesn’t have to be complicated or time-consuming. With just a few key products and techniques, you can create a fresh, polished look that enhances your natural features. Whether you’re heading to work, meeting friends, or simply running errands, this routine is versatile enough to suit any occasion. Remember, the best makeup enhances your natural beauty and makes you feel confident and comfortable in your own skin.
